
InventorInventor is a computer aided program by Autodesk, that allows you to sketch a 2D objects then extrude it to make it a 3D object. The 2D sketch can be dimensioned to change the size. These sketches are created in Part Files that can be added to Assembly files or put in a drawing file. |
Widget Sketches
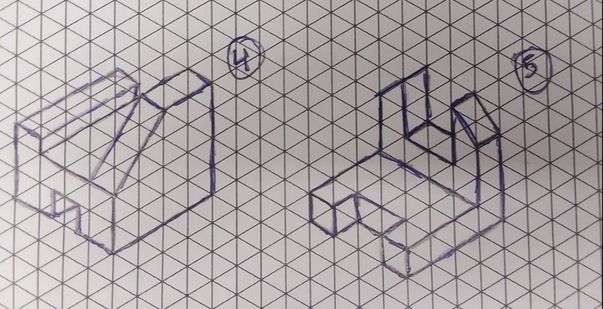
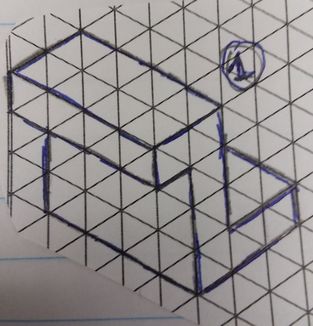
Widget #1
Our first task in IDEA is to create the 6 Widgets in Inventor; I will be showing you the process of Widget #1.
|
|
|
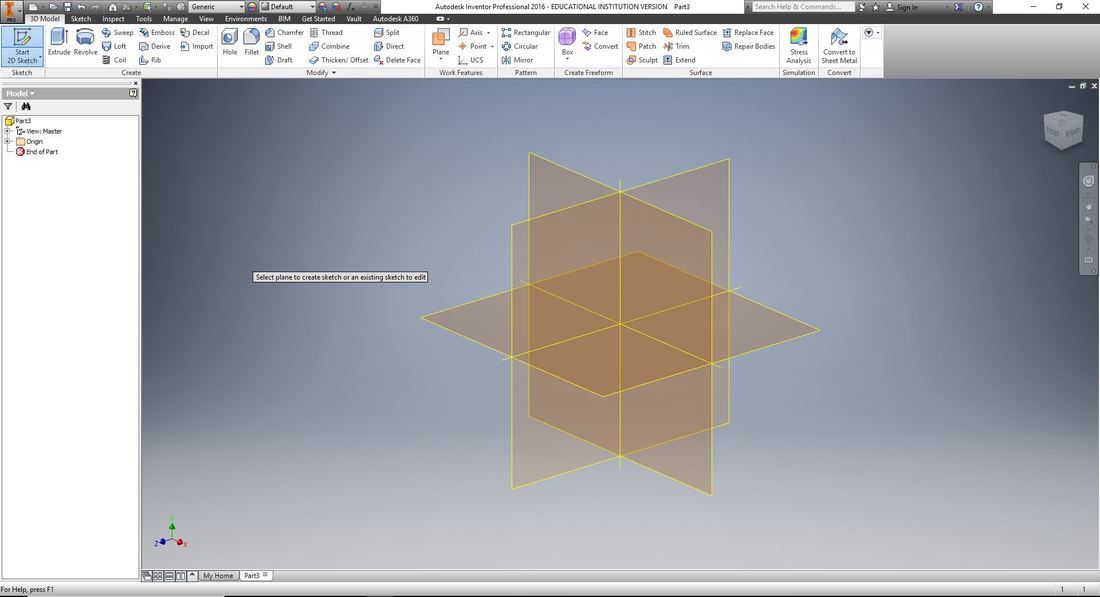
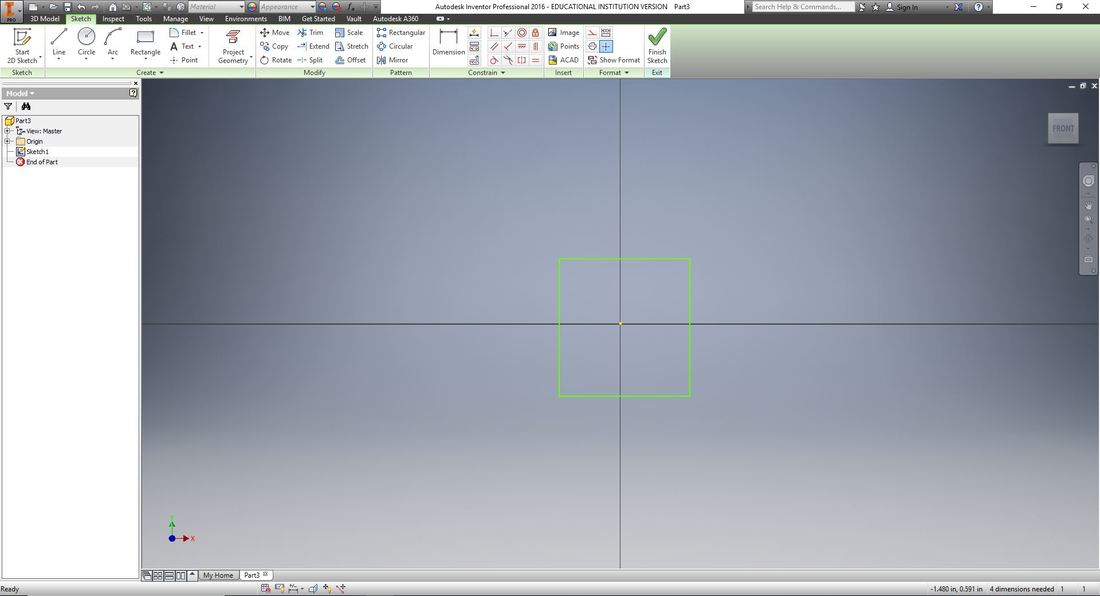
After I opened Inventor I selected a part file, then clicked on new 2D Sketch. After that I choose the XY plan and then used the rectangle tool to create the square.
|

|
|
|

|
|
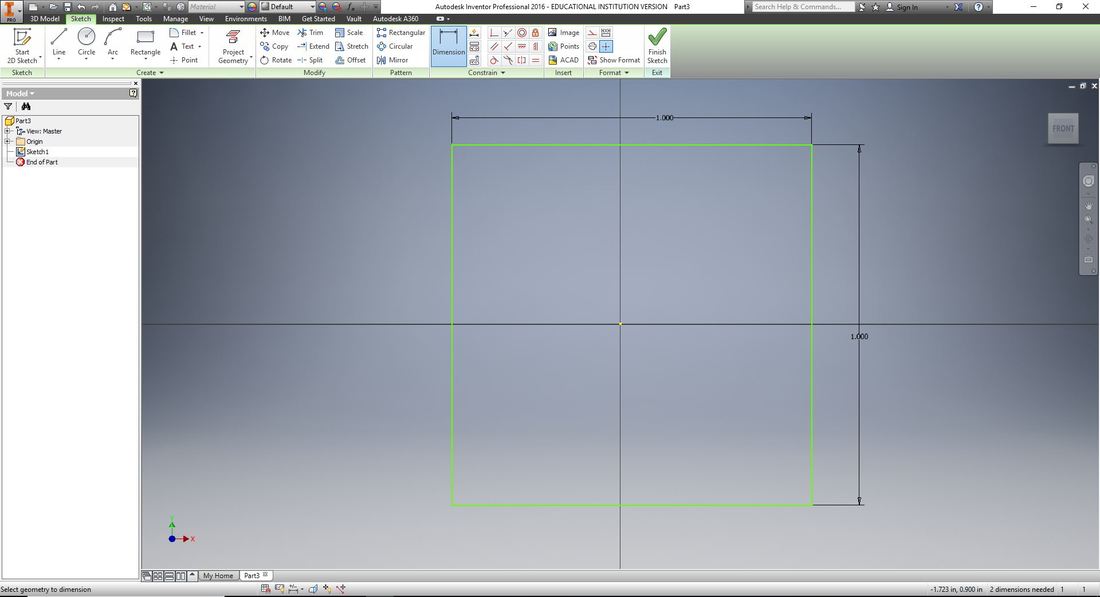
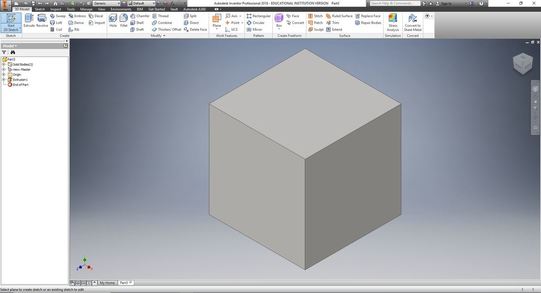
Once I dimensioned the square that I created I am able to click finish sketch. Then I clicked Extrude and Extruded the square out 1 inch.
|
|
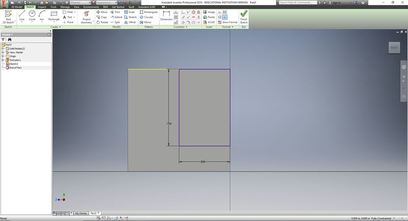
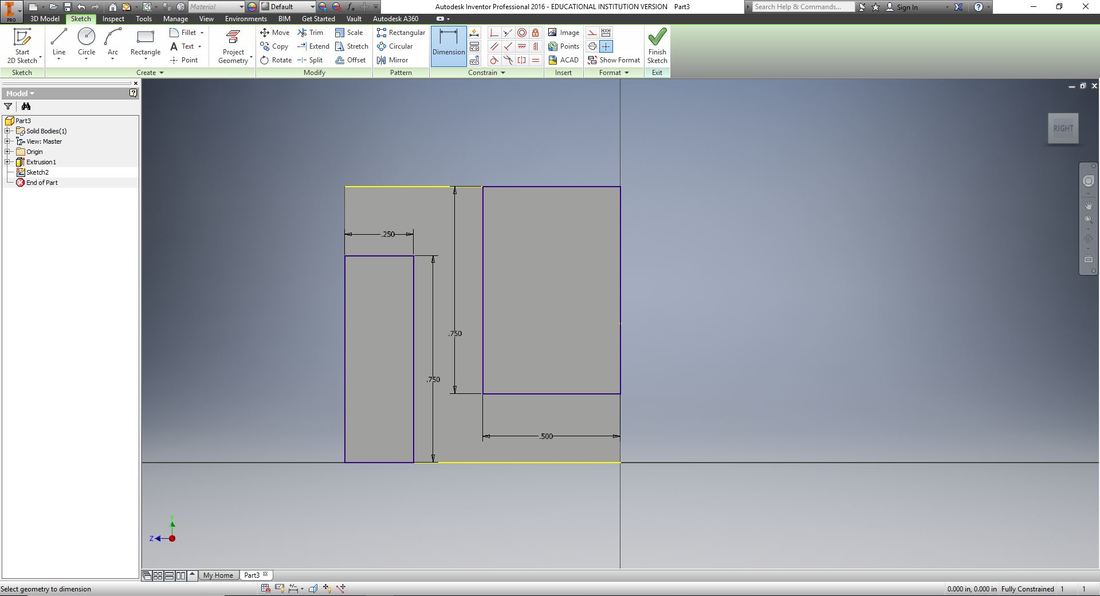
Next I clicked on start 2D Sketch and then had to select the right face of the cube. Following that I clicked on rectangle and placed the first point in the top right hand corner or the cube a drug down. This mean the dimensions will be 1/2 inch to the left and 3/4 inch down.
|
|

|
|
|
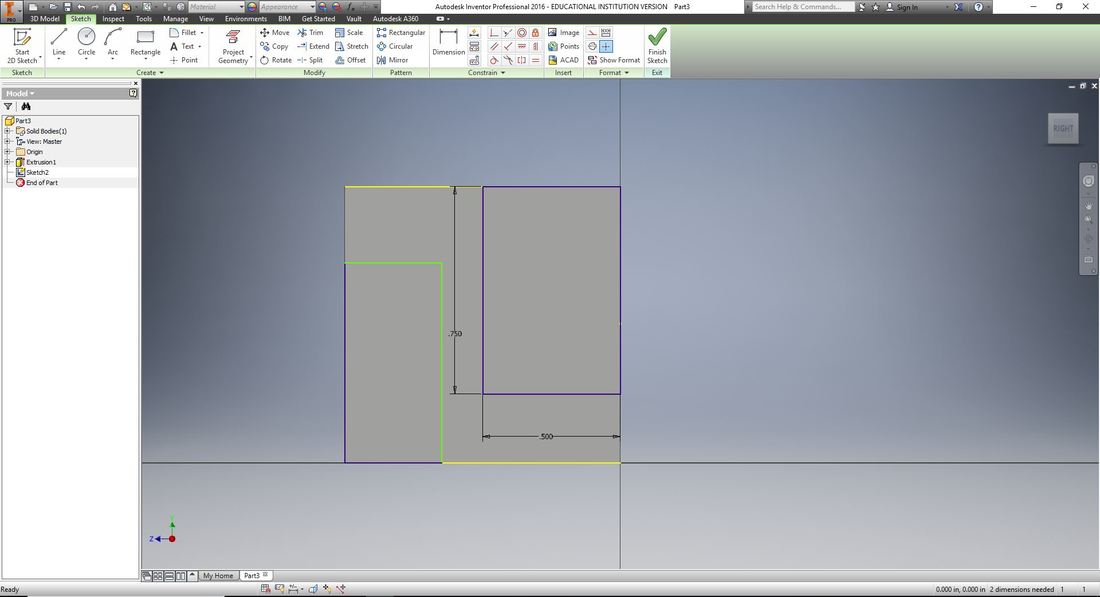
After that I clicked on the rectangle again again a selected the initial point on the bottom left corner and drug up towards the right. This rectangle will be dimensioned at 1/4 inch wide and 3/4 inch tall.
|
|
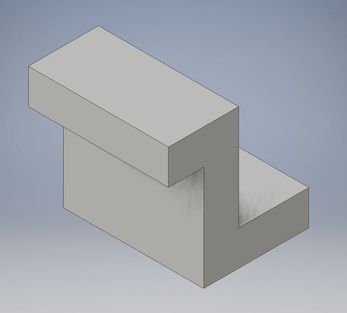
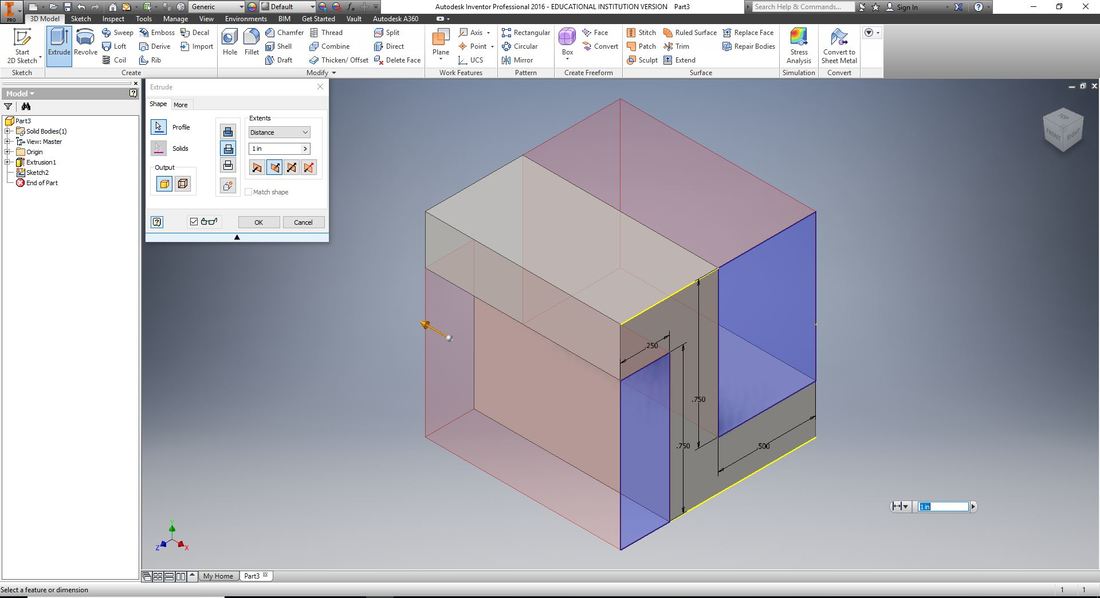
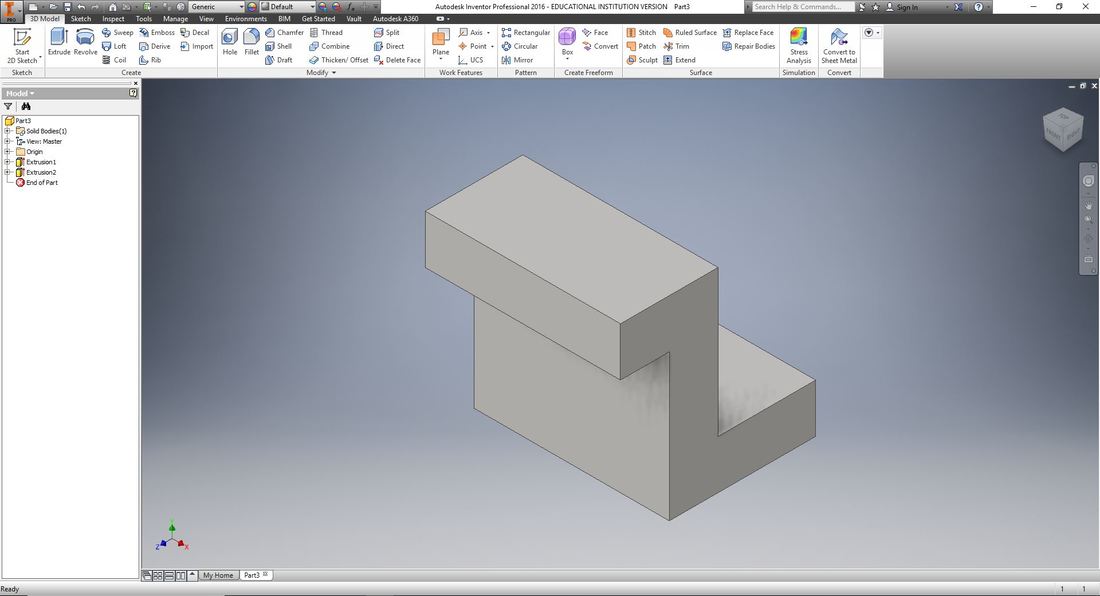
Finally, I hit finish sketch and then selected extrude and clicked on the two rectangles and then extruded backwards 1 inch and then hit Okay and there is the final product.
|
|
|
Remaining Widgets
3D Printing Widget #1
|
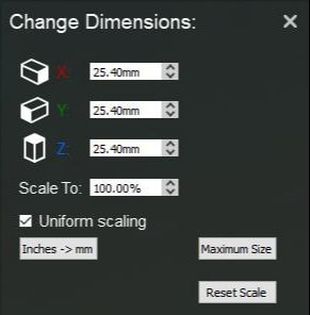
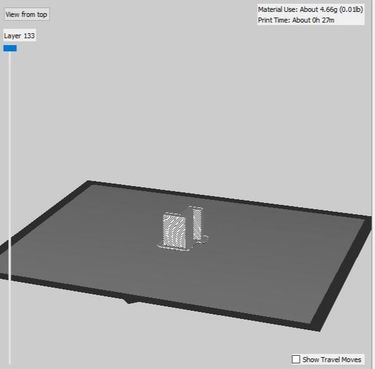
First of you need to use inventor to export the file as a STL instead of a IPT file. Then you can open MakerBot and click prepare at the top of the screen, then click Add File and select the STL file of the widget. If there is any over hang then rotate your object by clicking the arrows on the left that look like they are rotating and change the XYZ Planes. After that scale the size to 1000.00% and click enter to make the widget equal to 1 inch.
|
|
Before you save it make sure that you select Settings next to Add File and make the Extruder Type Smart Extruder +. When you save the file to export it make sure you select your flash drive to save it to so that you can print the widget.
|
|
|
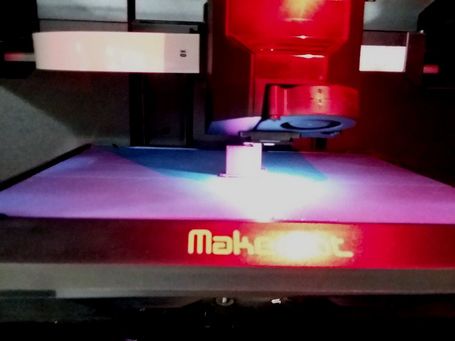
When using the 3D printer you have to enter your Flash Drive and then you select the file from the Flash Drive and then click Print. Make sure you have inserted the Flash Drive into the color of print you want and click Print.
|
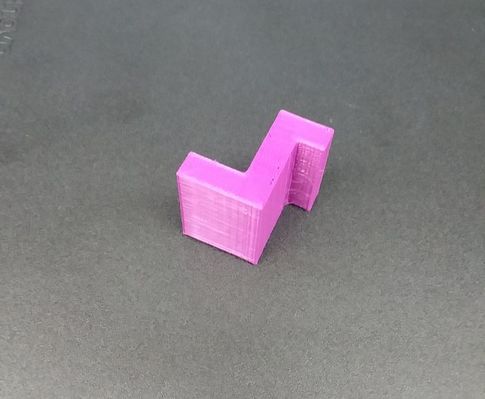
The Final Product...
|
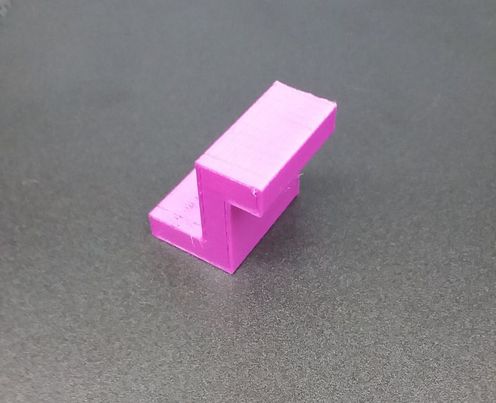
|
Summary
I learned the basics of Inventor in 8th Grade Gateway with Mr. Burgess and with this I learned how to start a 2D Sketch, Dimension, and Extrude objects in Inventor. With this course I wanted to further enhance my skills on how to use Inventor. I also learned the basics on how to insert a file in MakerBot and how to adjust the size and rotate the widget in MakerBot. The size will be adjusted to 1000.00% instead of 100.00%, and to rotate the widget to make sure no part are hanging off. All in all, I learned that 3D Printing has many real world affects from making human tissues to jewelry thanks to the videos and in class discussions.
