
Design and Drawings
|
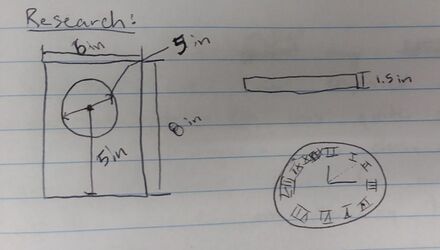
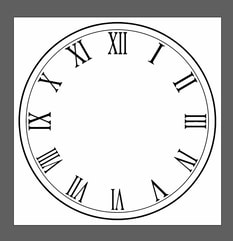
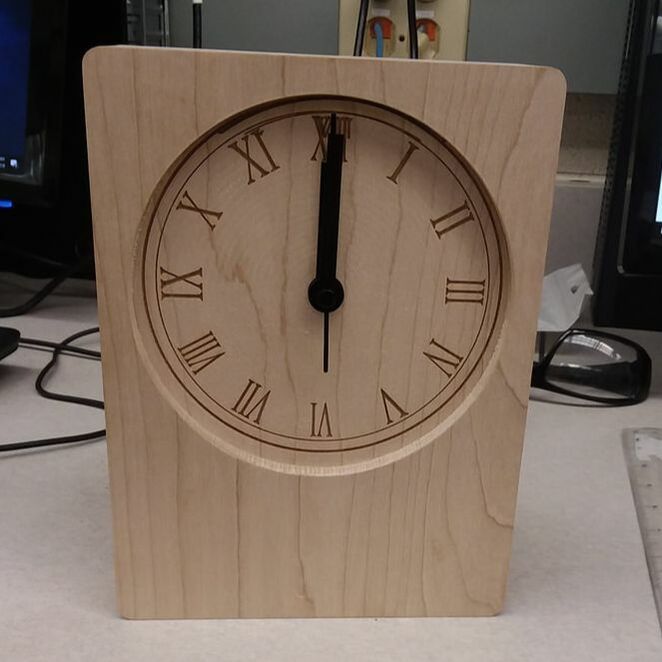
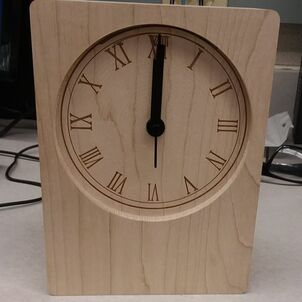
Here I designed the size of my clock as well as what the clock face will look like. And I modeled it in Inventor to show what it will look like.
|
|
Recipe of Completion
|

|
|
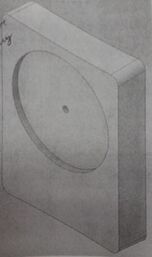
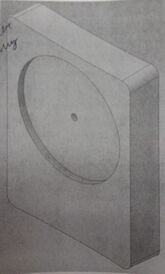
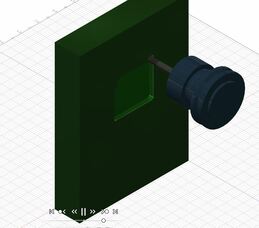
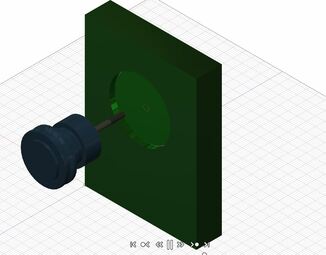
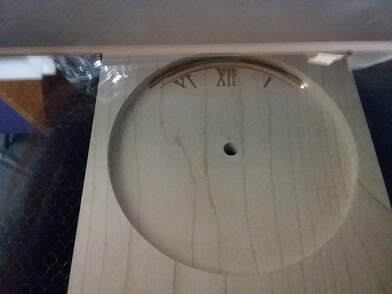
First I modeled the clock in Inventor (Picture 1) and then put it into Fusion 360 to cut out the outside edge (Picture 2). Then I recessed the face of the clock (Picture 3) and then cut out the back of the clock to put in the clock mechanism (Picture 4). Finally, I laser engraved the numbers on the clock (Picture 5).
Working on Project
|
|
|
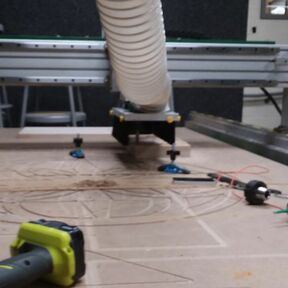
I used the CNC Router to cut out my clock as well as recess the front face of the clock. Then I used the CNC Mill to cut out where my clock mechanism will mount in the back of the clock. Finally, I used the laser to engrave the numbers on the face of my clock.
What I learned
|
I learned that the Fusion 360 license has to be updated every year, but also learned that the CNC Mill is meant for fine detail on smaller objects, opposite of the CNC Router, meant for larger objects. The CNC Mill has a very small window in which you can cut in. Finally, I learned that you have to recalibrate the laser if you are engraving in a recessed area.
|
